Free 3D model

Combination Safe

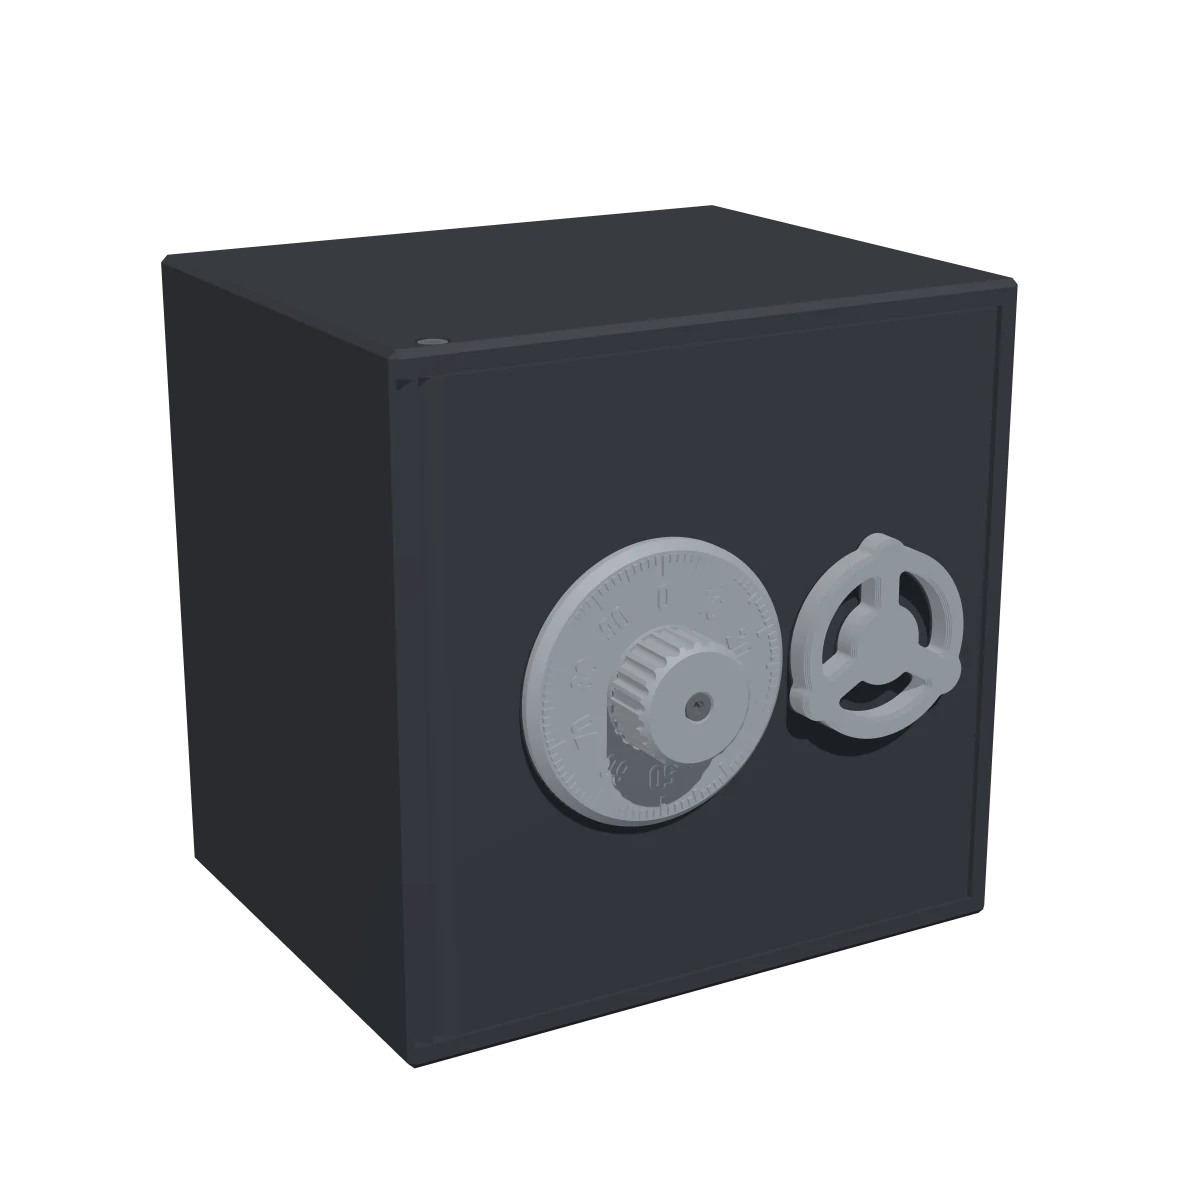
A small safe that opens the way a real one does. Turn the dial left to your first number, right to the second, left to the third; only then do the gates of the three wheels line up, the handle turns and the bolt slides back. The lock is the same wheel pack that sits in a real safe door, and you can watch it work through the open cover on the inside. You pick the code yourself: lift a wheel's rim off its hub and put it back at another number. Twenty printed pieces and eight M3 screws, no supports.

  • 20printed parts
  • 13 × 14 × 14 cmassembled (L × W × H)
  • ≈ 0.5 kgfilament in total
  • 141 × 141 mmbed size needed for the body, 115 mm tall; it fits a 180 mm printer
Download all files ZIP · 1.1 MB

Free for personal use under CC BY-NC 4.0: print it, remix it and share it with credit to Shapekit. Please don't sell the files or the prints.

Take it apart in 3D · Parts · How to build it

In 3D

Turn it, take it apart

Every part as you print it. Pick colours to see what your filament will look like.

The 3D model (4.4 MB) loads when you get here.

Preview colours

Body and door
Dial and handle
Code wheels
Lock parts

Drag to rotate · scroll or pinch to zoom

In the download

14 parts, ready to print

Every STL is already placed the right way up. Download them all at once, or one by one.

Body

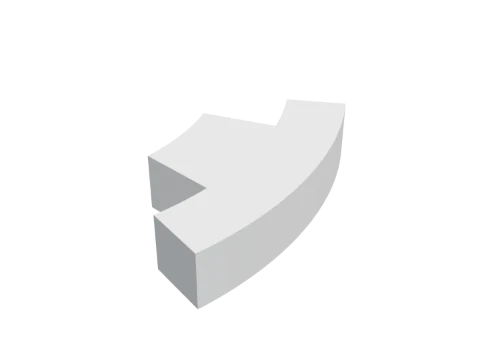
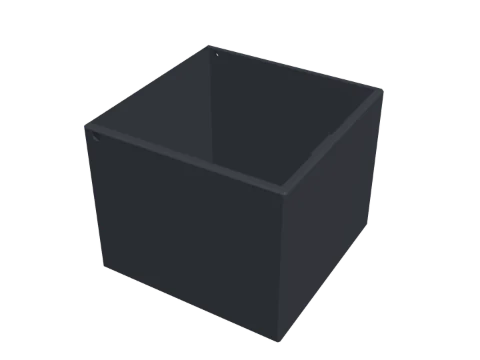
The box, 141 mm square and 115 mm deep with 5 mm walls. On the inside of the right wall sits the strike that the bolt slides behind; the hinge screws go in through the top and the bottom.

Size
141 × 141 × 115 mm
Print
On its back, opening up. No supports: the strike bridges 18 mm.
Filament
≈ 280 g
STL 45 KB: Body

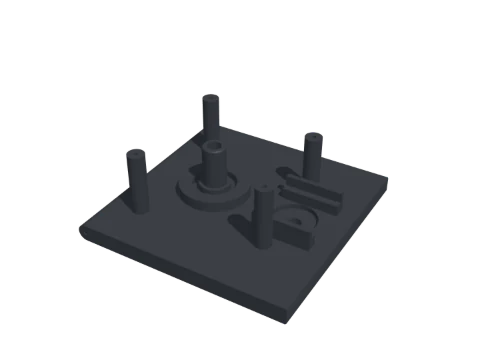
Door

The door with everything the lock stands on: the post the wheels turn on, the rails of the bolt and four pillars for the cover. Its hinge edge is round, so it swings inside the frame.

Size
130 × 130 × 47 mm
Print
Front face on the bed, post and pillars up. No supports.
Filament
≈ 98 g
STL 0.3 MB: Door

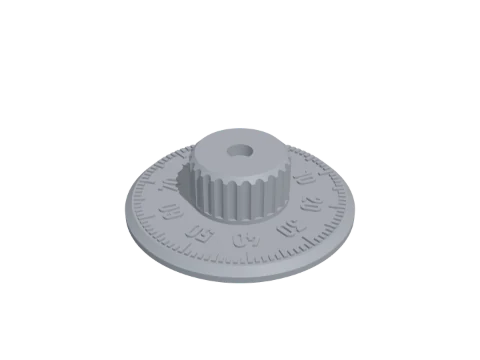
Dial

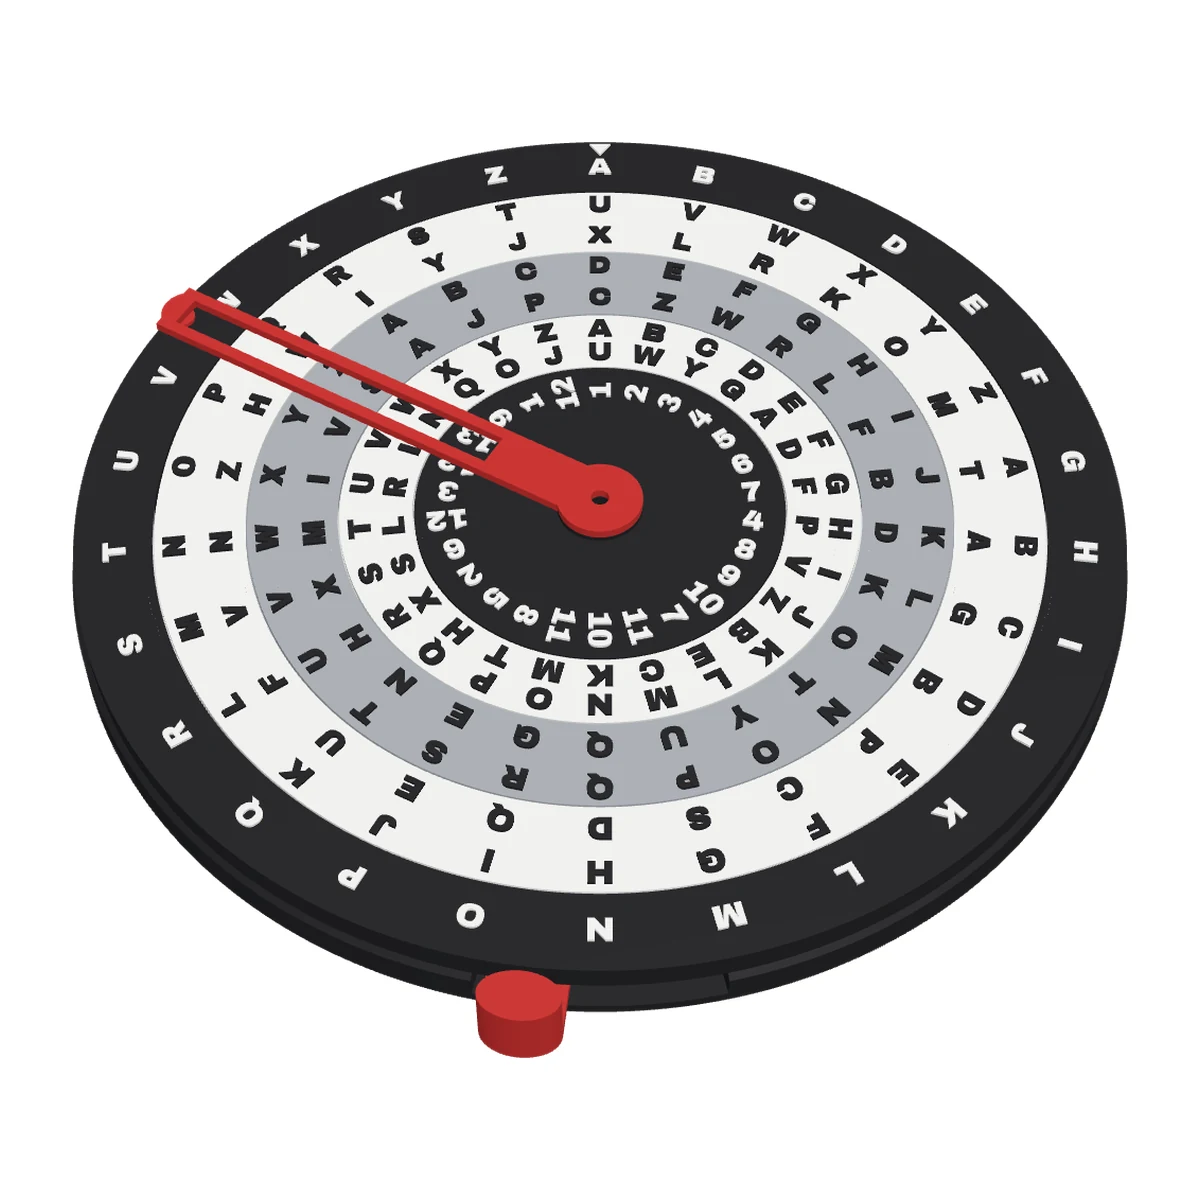
Numbered 0 to 90 with a mark for every one of the 100 steps. The numbers stand 0.6 mm proud, so a filament swap at that height gives them their own colour.

Size
58 × 58 × 17 mm
Print
Back on the bed, knob up. No supports.
Filament
≈ 13 g
STL 0.8 MB: Dial

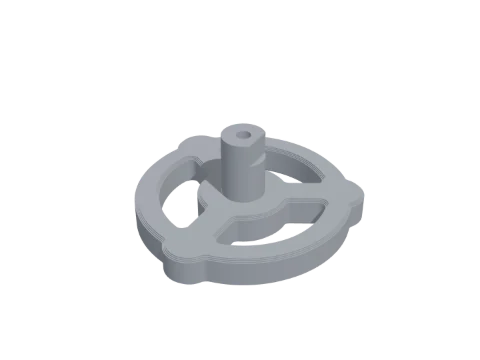
Handle

Three spokes on an 8 mm shaft that goes through the door. A quarter turn to the left pulls the bolt back.

Size
42 × 40 × 18 mm
Print
Front face on the bed, shaft up. No supports.
Filament
≈ 6 g
STL 0.9 MB: Handle

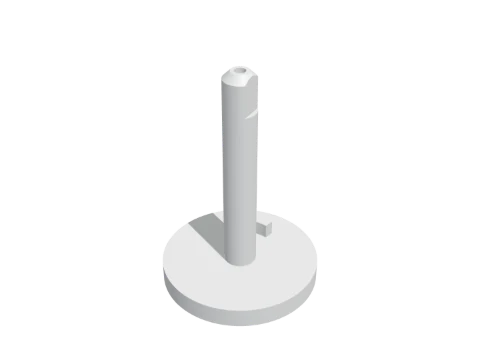
Spindle and cam

The 8 mm shaft of the dial with the cam on its end. The lug on the cam picks up the third wheel.

Size
57 × 39 × 39 mm
Print
Cam on the bed, shaft up. No supports.
Filament
≈ 7 g
STL 75 KB: Spindle and cam

Wheel hub × 3

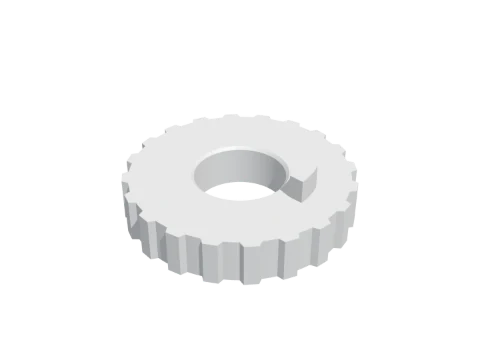
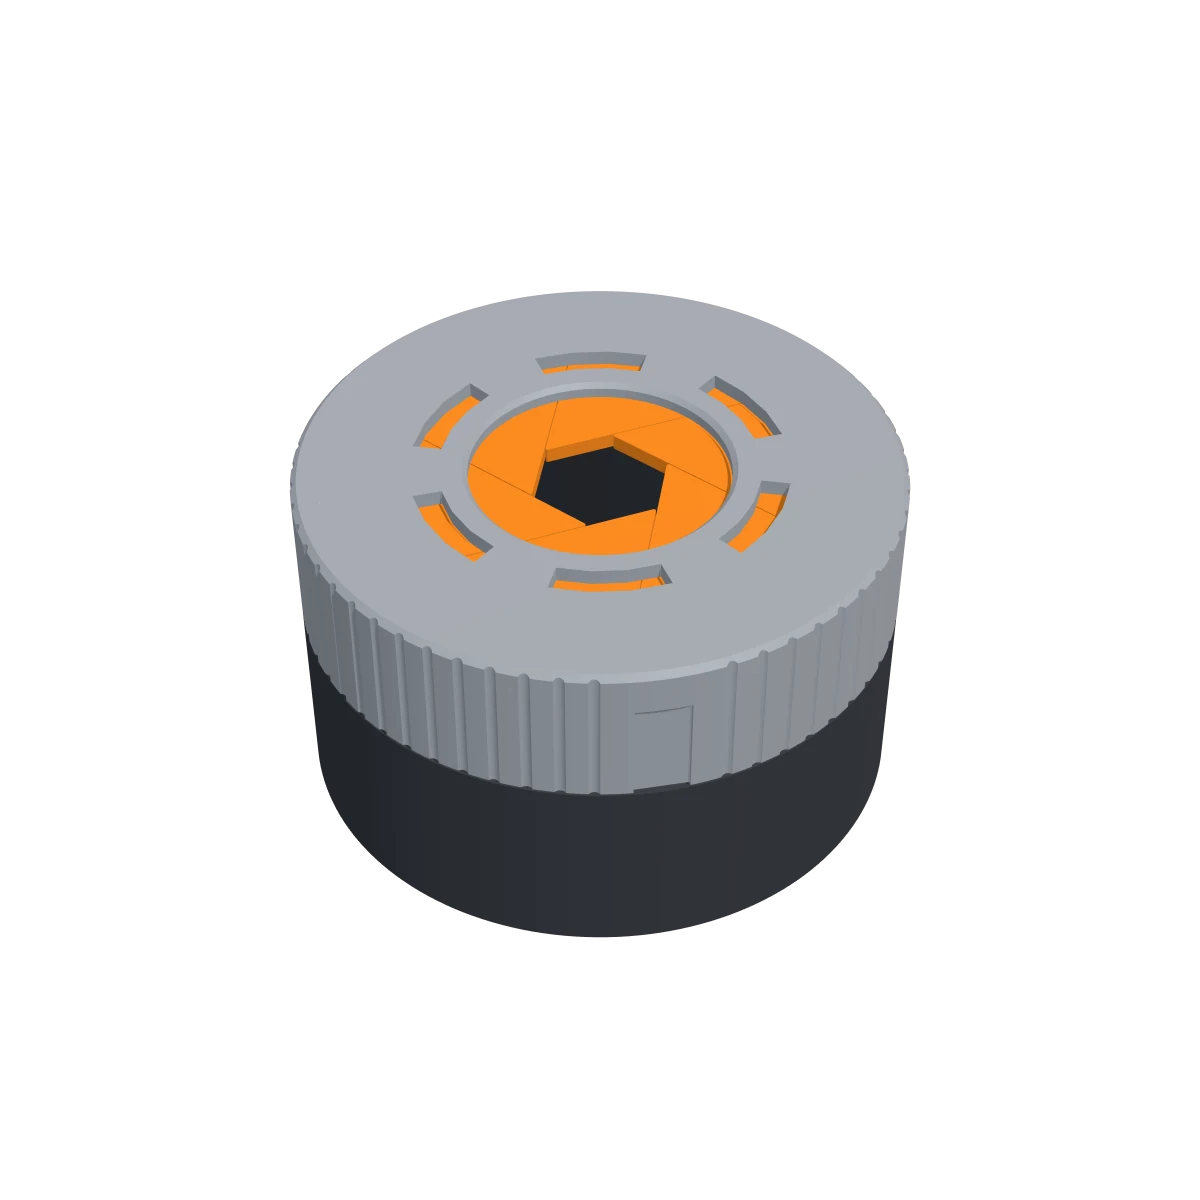
The middle of a code wheel: 20 spline teeth for the rim, a lug that drives the next wheel and a groove for the fly. The arrow on its back points at the number on the rim.

Size
37 × 37 × 11 mm
Print
Lug up. No supports: the groove underneath bridges 7 mm.
Filament
≈ 16 g
STL 0.1 MB: Wheel hub

Wheel rim 1

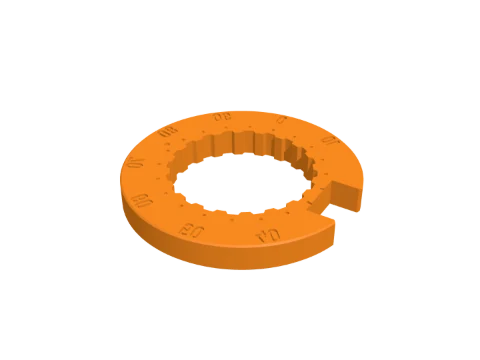
The rim of the wheel next to the door (one dot), with the gate for the fence. It holds your first number.

Size
60 × 59 × 7 mm
Print
Numbers up. No supports.
Filament
≈ 9 g
STL 0.6 MB: Wheel rim 1

Wheel rim 2

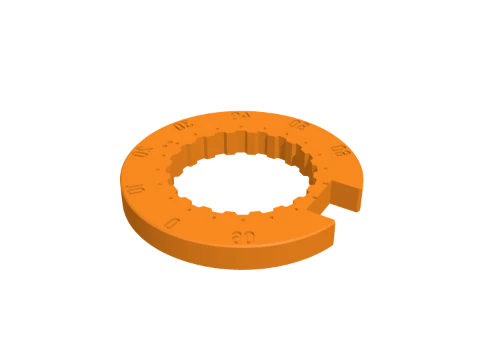
The rim of the middle wheel (two dots). It holds your second number.

Size
60 × 59 × 7 mm
Print
Numbers up. No supports.
Filament
≈ 9 g
STL 0.6 MB: Wheel rim 2

Wheel rim 3

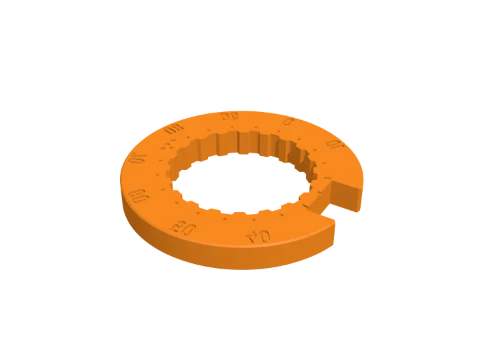
The rim of the wheel next to the cam (three dots). It holds your third number.

Size
60 × 59 × 7 mm
Print
Numbers up. No supports.
Filament
≈ 9 g
STL 0.6 MB: Wheel rim 3

Fly × 3

A loose T-shaped piece in the groove of each hub. It gives way by the width of the lug, so a wheel is picked up after exactly one turn in either direction.

Size
12 × 6 × 2 mm
Print
Flat. No supports.
Filament
≈ 0 g
STL 16 KB: Fly

Separator plate × 3

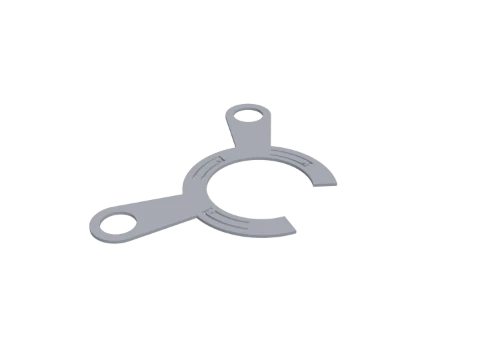
A thin plate between two wheels that hangs on two pillars, so one wheel can't drag the next along. Three springy fingers press on the wheel and keep it where the dial left it.

Size
90 × 54 × 2 mm
Print
Flat, bumps up. No supports.
Filament
≈ 5 g
STL 0.2 MB: Separator plate

Bolt and fence

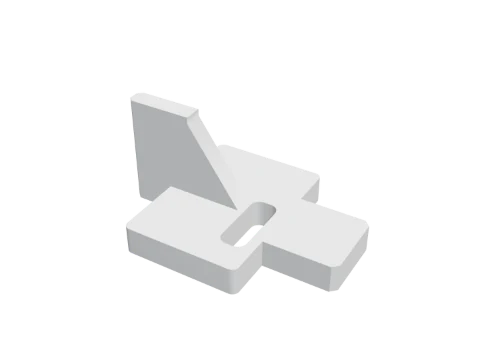
The bolt with its fence: the blade that lies along the three wheels and only fits when all three gates face it.

Size
50 × 36 × 24 mm
Print
Flat side on the bed, fence up. No supports.
Filament
≈ 7 g
STL 18 KB: Bolt and fence

Crank

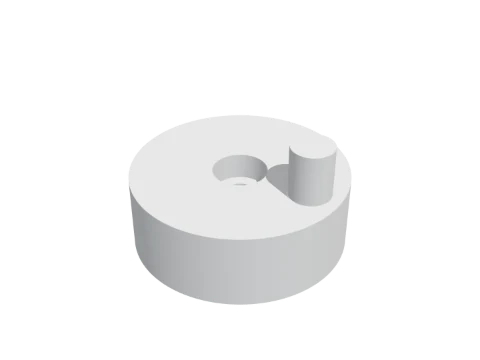
A disc on the end of the handle shaft. Its pin runs in the slot of the bolt and moves it 9 mm.

Size
26 × 26 × 15 mm
Print
Pin up. No supports.
Filament
≈ 3 g
STL 72 KB: Crank

Lock cover

Screws onto the four pillars and keeps the wheels, the cam and the bolt in place. The windows let you watch the lock work.

Size
90 × 87 × 26 mm
Print
Outside face on the bed. No supports.
Filament
≈ 10 g
STL 0.2 MB: Lock cover
Also needed

Parts you buy

  • 3 × M3 × 16 mm cap screws: two are the hinge pins of the door, one holds the dial.
  • 5 × M3 × 10 mm cap screws: four for the lock cover, one for the crank.
  • A 2.5 mm hex key. The screws cut their own thread in the plastic; there are no nuts.
  • Nothing else: no springs, no bearings, no magnets and no glue.
Print settings

Slicer settings

0.20 mmlayer height
3walls
15%infill
PLA or PETGmaterial

For a 0.4 mm nozzle. Filament amounts are estimates for these settings.

Assembly

How to build it

Print and check

Print one of each part, and three hubs, three flies and three separator plates. Nothing needs supports. Turn on elephant's foot compensation, or scrape the bottom edge of the hubs and rims, and check that a hub turns freely on the post of the door and that a rim slides onto a hub.

Choose your code

Three numbers in steps of 5, for example 25, 70 and 40. Rim 1 (one dot) takes the first number, rim 2 the second and rim 3 the third. Push each rim onto a hub, numbers on the side of the hub's arrow, with the arrow at its number.

Handle and bolt

Lay the door face down. Push the handle's shaft through from the front, put the crank on its end inside the door, flat to flat with the pin pointing at the door's edge, and fasten it with an M3 × 10. Lay the bolt on its rails with its slot over the pin and the fence pointing at the post.

Stack the wheels

Slide wheel 1 onto the post, lug down and numbers up, and drop a fly into its groove with the tab pointing at the post. Hang a separator plate on the two pillars, bumps down. Do the same with wheel 2 and wheel 3: wheel, fly, plate.

Spindle, cover and dial

Push the spindle through the post from the inside until the cam lies on the last plate. Screw the cover onto the four pillars with M3 × 10 screws. Turn the door over, push the dial onto the spindle, flat to flat, and fasten it with an M3 × 16.

Hang the door

Stand the door in the opening and drive an M3 × 16 through the top and one through the bottom of the body into the hinge edge of the door, until the heads are flush. Don't tighten them: the door turns on them.

Open it

Turn the dial left at least four full turns and stop on your first number. Turn right, pass the second number twice and stop on it the third time. Turn left, pass the third number once and stop on it the second time. Now turn the handle a quarter turn to the left. To lock: handle back, then spin the dial.

A toy safe, not a real one: don't keep valuables in it. Small parts: keep the flies and screws away from young children.

Good to know

How does the combination lock work?

The dial turns a cam behind three wheels. The cam picks up the nearest wheel after one turn, that wheel picks up the next one after another turn, and so on, so by turning left, right and left you set the three wheels one by one. Each wheel has a notch in its rim, the gate. The bolt can only slide back when all three gates face the fence, a blade on the bolt.

How many codes are there, and can I choose my own?

8000. Each of the three numbers can be 0, 5, 10 and so on up to 95. To set a number you lift the rim of that wheel off its hub and put it back with the arrow of the hub at the number you want. Changing the code later takes about five minutes and a hex key.

What do I need besides the printed parts?

Eight M3 cap screws: three of 16 mm and five of 10 mm. They cut their own thread in the plastic. There are no springs, bearings, magnets or glue; the springs that hold the wheels still are fingers printed into the separator plates.

Does it need supports, and what size printer?

No supports. The body is the largest part at 141 × 141 mm and 115 mm tall, so it fits a 180 mm bed. The whole safe takes about 0.6 kg of filament.

Is it a real safe?

The lock is real, the walls are plastic. It keeps a diary, pocket money or sweets away from curious hands, and it shows how a safe lock works better than any drawing. It won't stop someone with a screwdriver.

The handle won't turn after I dialled my code. What now?

Dial again, and stop right on the numbers: the fence fits if each wheel is within about one and a half marks. Don't force the handle. If it still won't open, check with the door open that each rim sits at the right number and that wheel 1 is next to the door.